Admin Guide: Name, Schedule, and Agenda
Overview
The Name, Schedule, and Agenda section is where you can adjust the title of your event, its start and end time, and add or customize your agenda. You can also mark an event for testing here as well.

Name
When you first created your event, you titled it. This initial title is reflected in your event’s URL. Adjusting your event’s name in this section will only reflect everywhere except for your event URL. If you need a new event URL, create a new event with the desired URL ending as your event title.

Date and Time
Under the scheduling section you can set the start and end time of this event. The start time is when the event will be open for your guests to join. The end time is a hard stop of your event, at that time your event will close and guests will be redirected to your exit page.
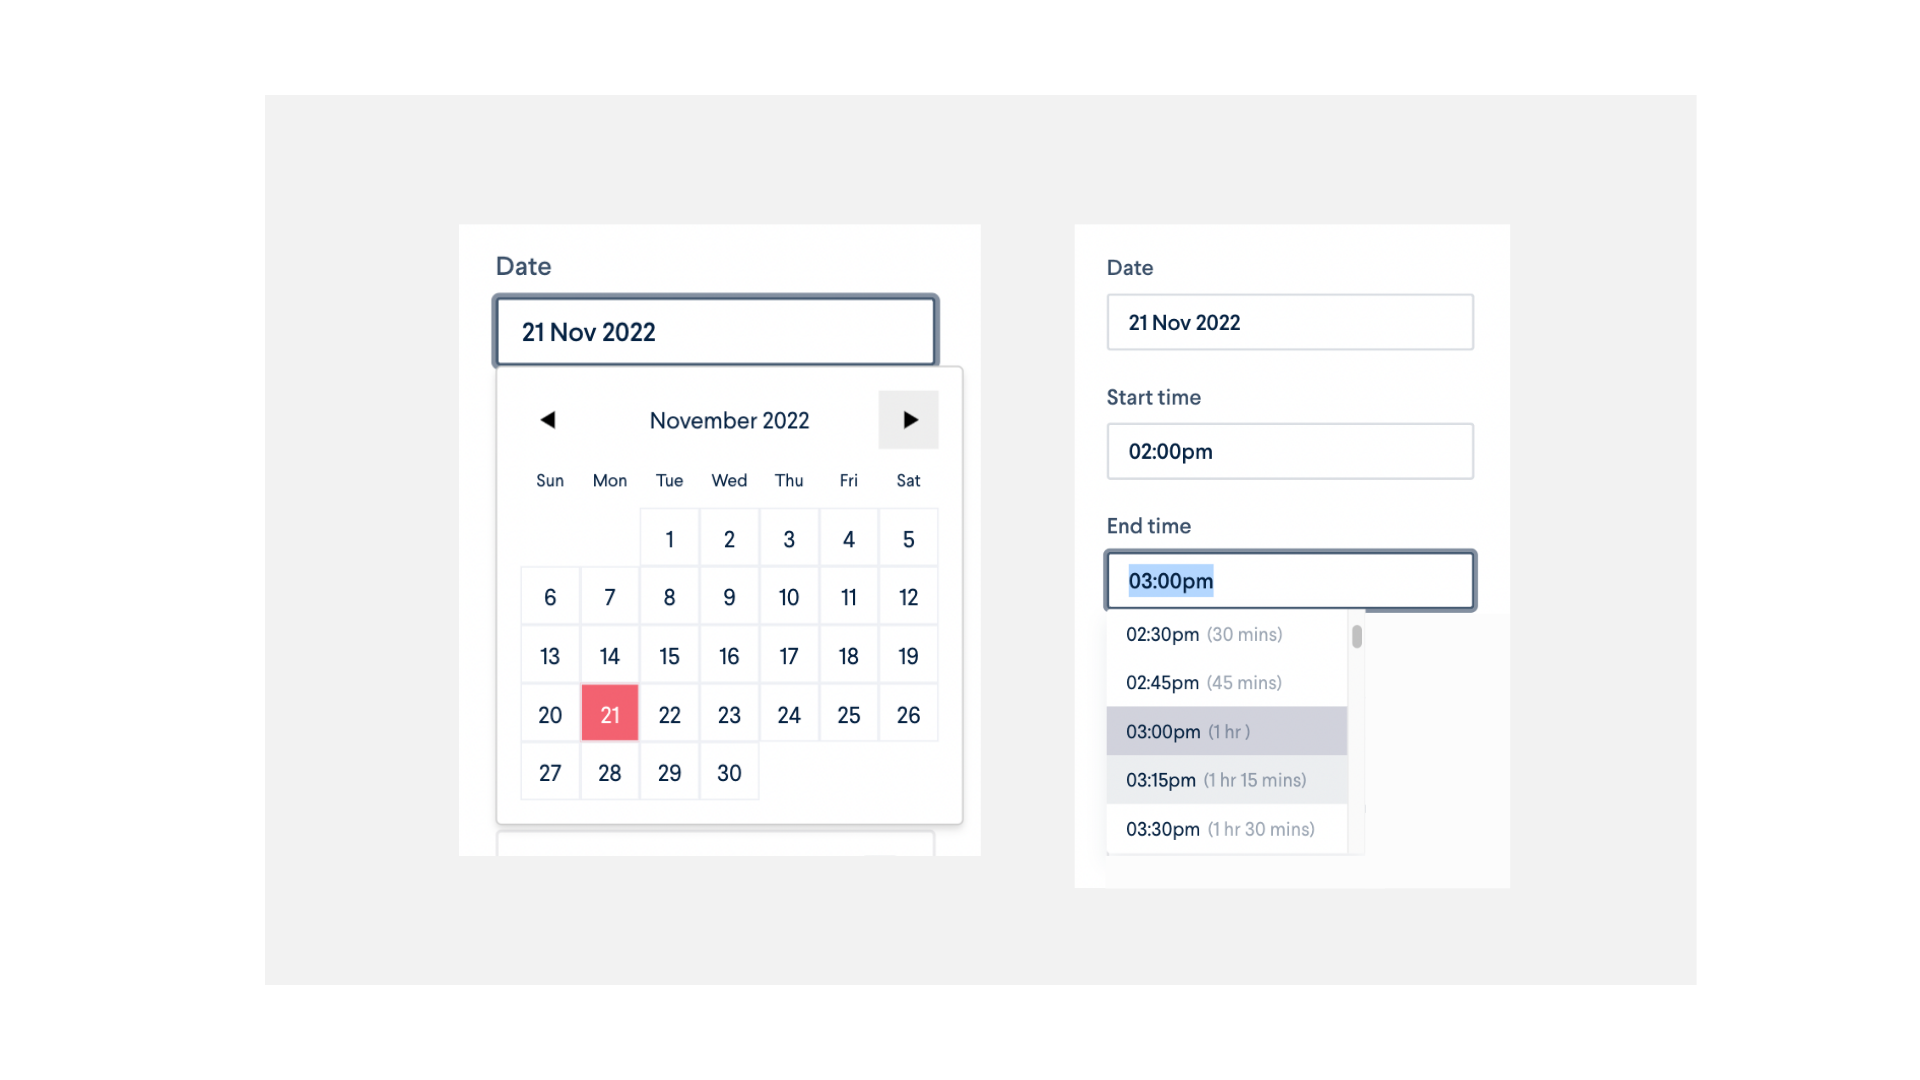
During your event, should you need more time you can adjust your end time to be later. We recommend allowing for at least an extra 10 minutes in your event, especially if this is your first event.
Agenda
Toggle the agenda to “on” to add your event’s schedule, important links, or any other information you would like to be easily accessible by your attendees. To add formatting, use the markdown language, a guide to which is linked out at the bottom of the agenda input box.

Test event
The test event toggle is to communicate that an event has been used for testing purposes only. This is for our Enterprise level accounts. Toggling this to “on” will change nothing other than flagging it for our team.
