Support >
events >
Testing your Event
Before hosting your event, it is important to test with other Hosts or Presenters to ensure that folks can access the platform, test their setup, and preview the event.
Preparing to test
Before testing the event with others, be sure to label the other users as either a host or a presenter. Only Hosts and Presenters can access the event before its scheduled start time.
- Open the Guest and host page.

- Add the other users you would like to be on the test call.
- Use the drop-down to label them as a Host or a Presenter.

- Or use the 3-dot menu to change someone’s permissions.

Sending out the link
After you’ve added the correct users to your guest list, with the correct permissions, you can send out your event link to those specific attendees.
- Open the Guest and host page.
- Copy the event link.
- Share the event link with the people on your test call.

Entering a test event
Once everyone is on the guest list with the appropriate permissions, they will be able to access the “preview mode” of the event at any time.
- Once a Host or Presenter accesses the event they will see a welcome message with a button that says “Preview.”

- Click “Preview.”
- Everyone will automatically enter either the lobby or the first room of the event space depending on your event settings.
List of items to test
- From here, it’s good to test getting on and off the stage.

- Your hardware settings, including camera, microphone, and speakers.

- Editing your profile ahead of the event.

- Screen sharing presentations.

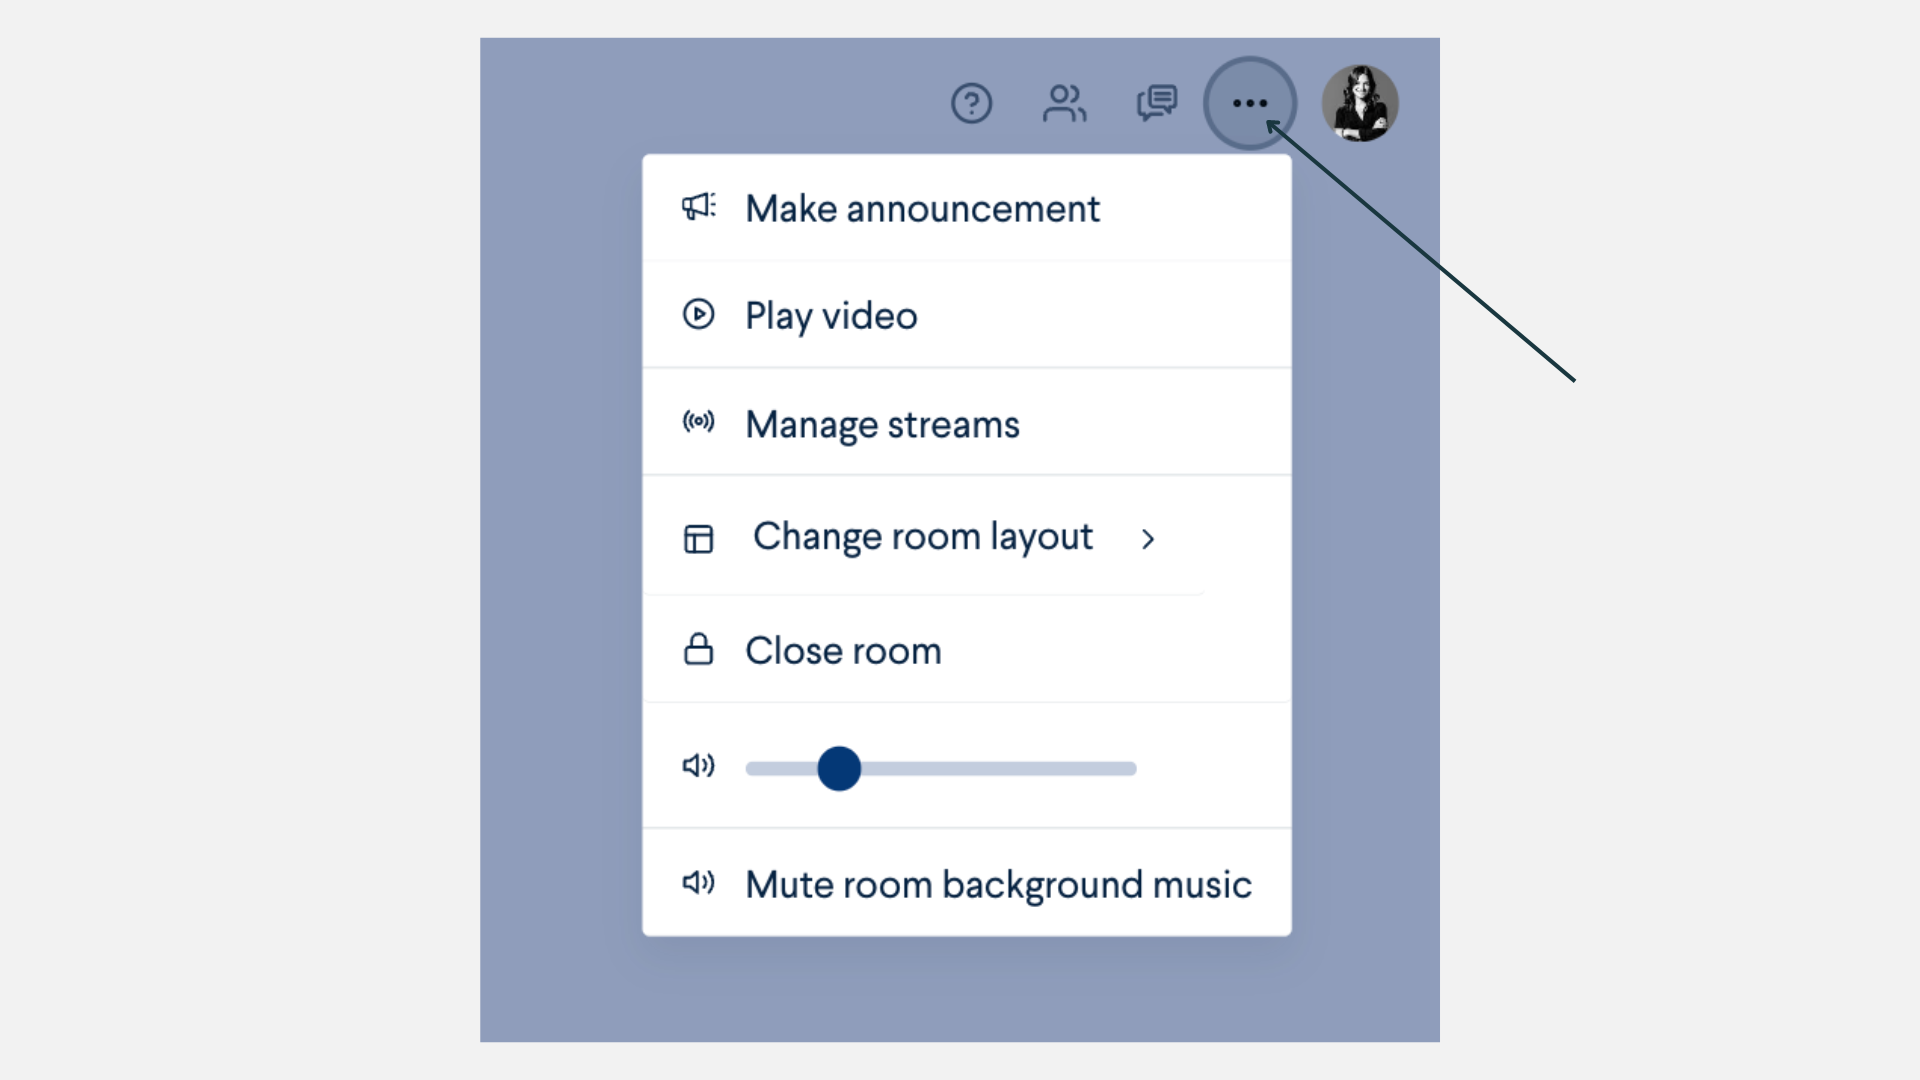
- Host's ability to access features in the 3-dot tool menu, which includes host-specific event tools. Features may vary by event, and may include the following:
- Announcements
- Pre-recorded Videos
- Streams
- Changing a room layout
- Closing a room
- Music

