Using Tables in Whiteboard
Creating a Table
- Click the tables icon on the left-side toolbar.
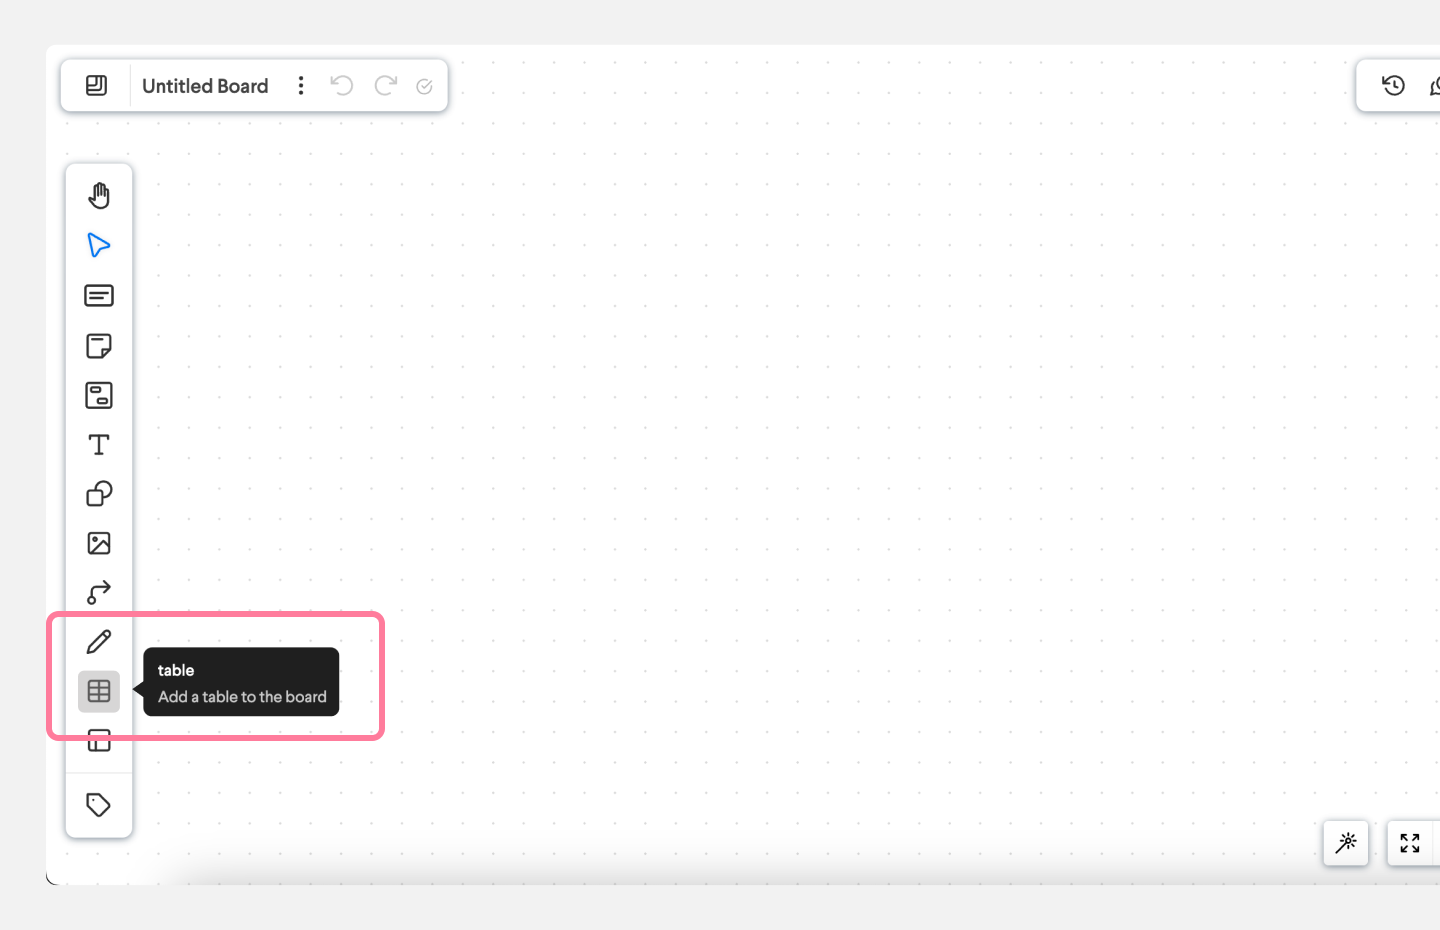
- Hover over the table layout you need from the preview box, and click to confirm.
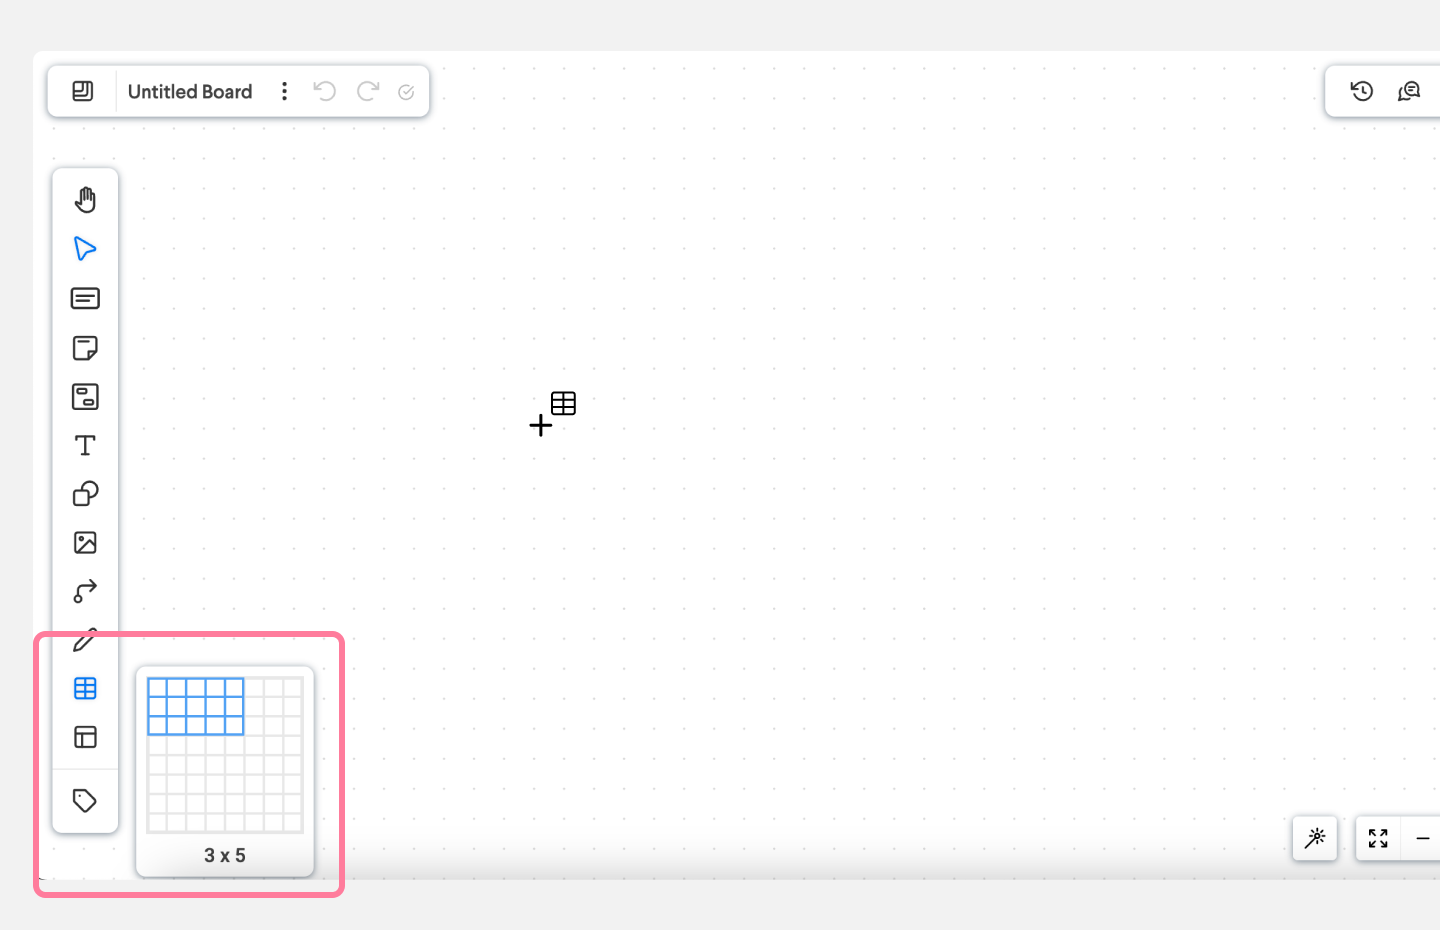
- Click anywhere on the canvas to place your table layout.
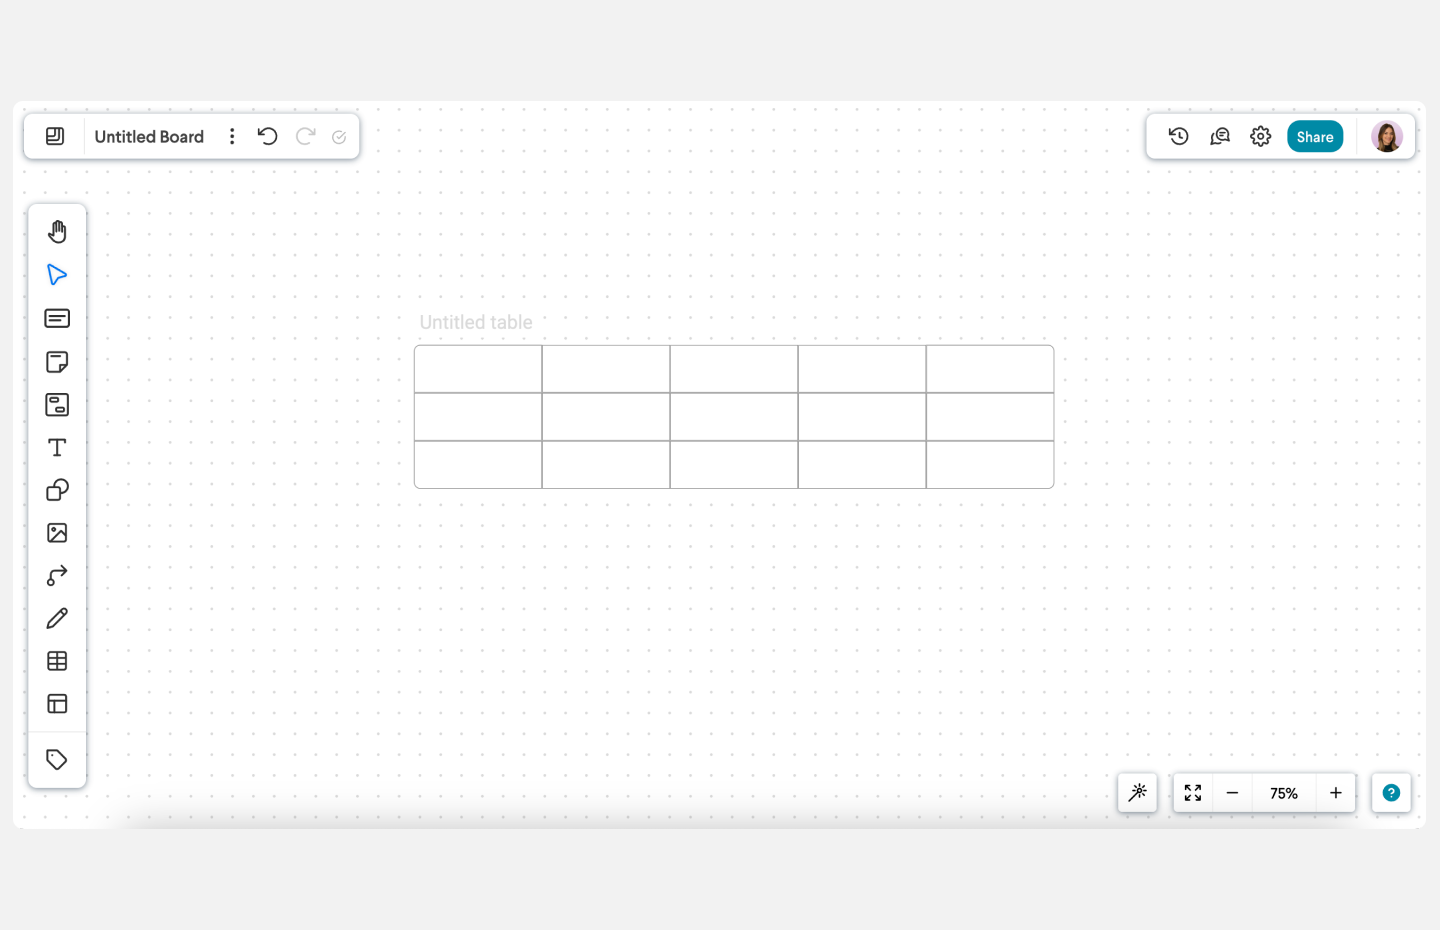
Selecting Cells
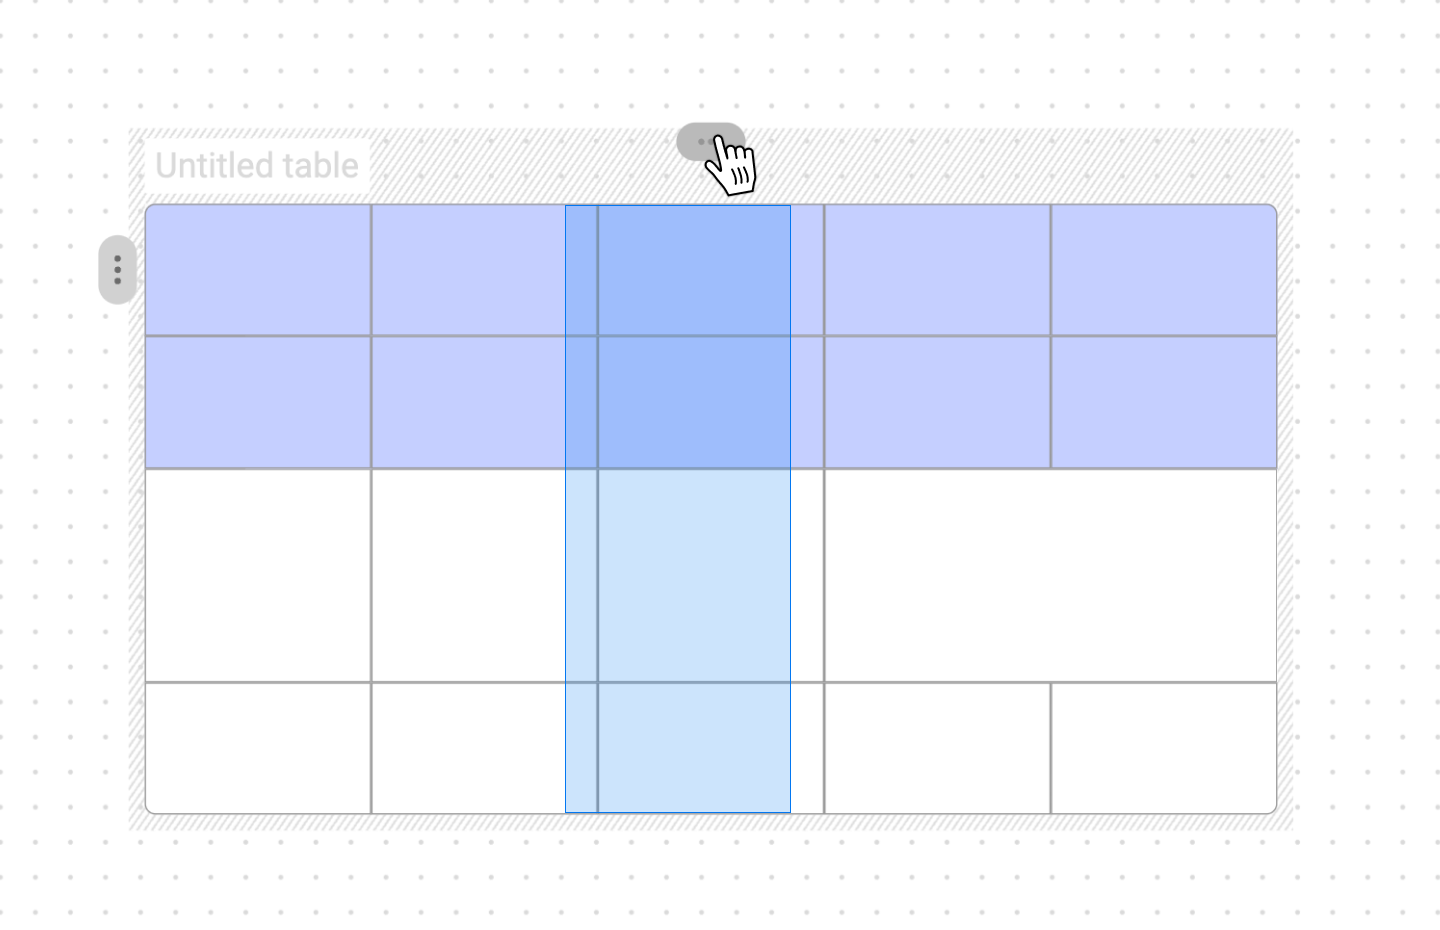
- You can click on the 3-dot handles for each row or column to select the entire row or column.
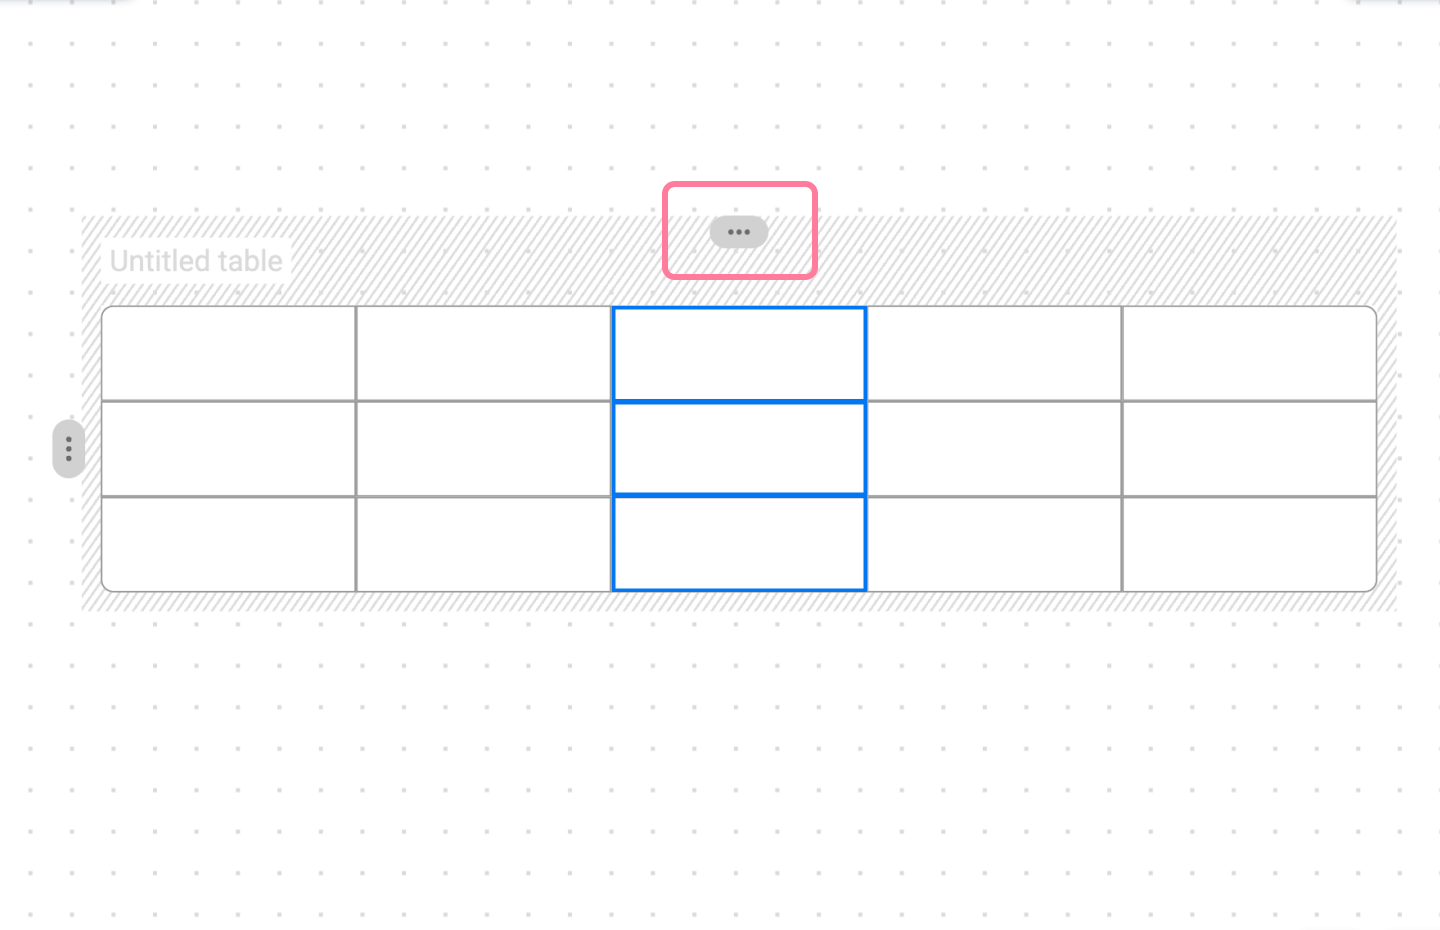
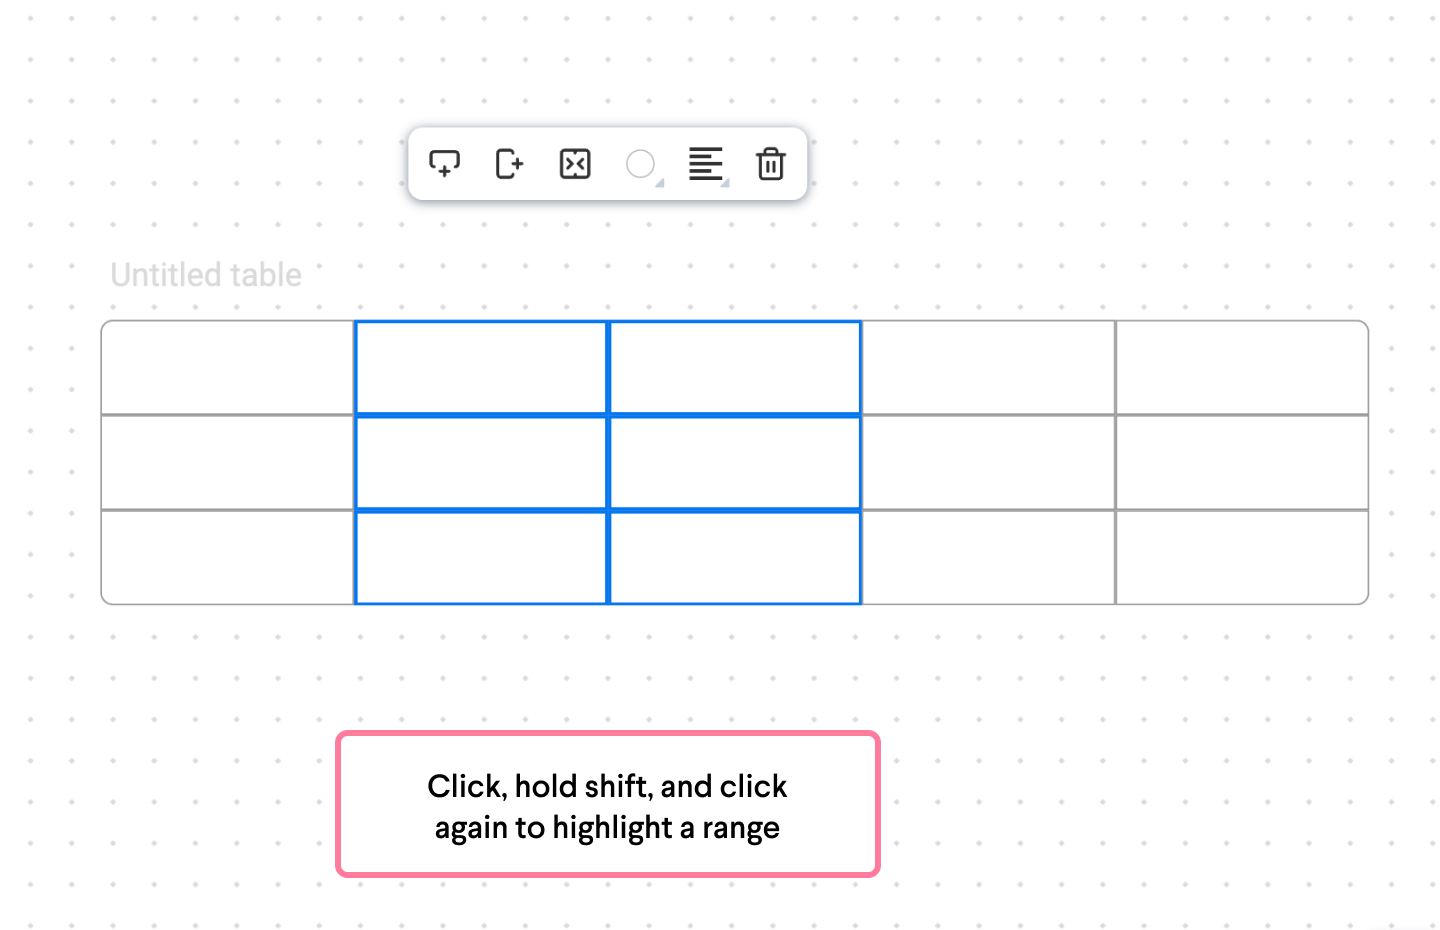
- You can select cells individually, or select multiple cells by clicking once, holding shift and clicking on another cell. This will select every cell in range.
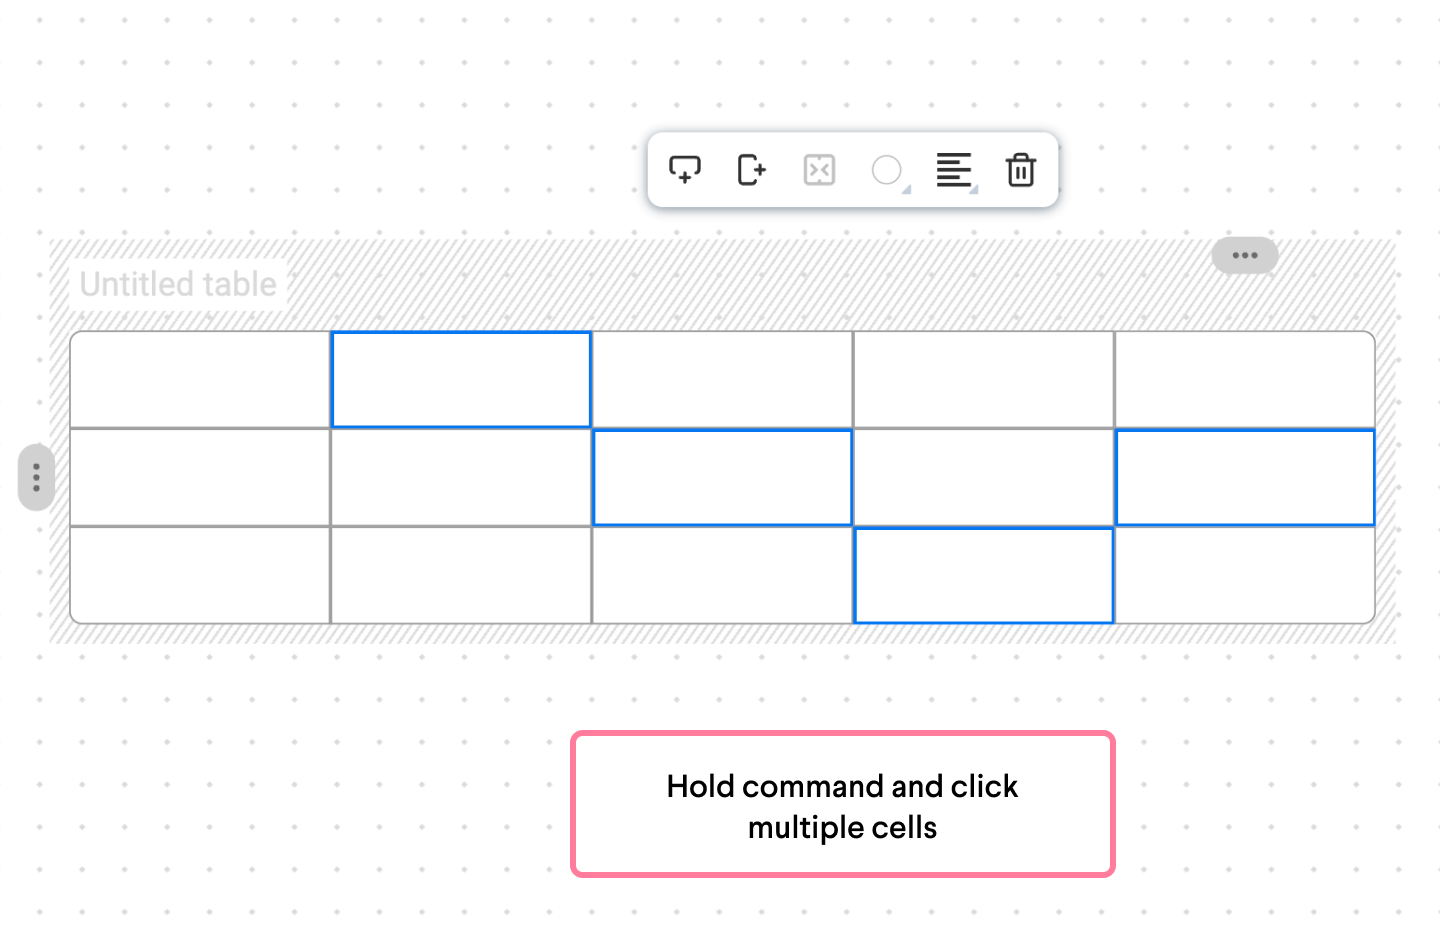
- Alternatively, you can select unique cells across your table by holding the command/control key and clicking to selecting multiple cells.
Customizing and modifying your table
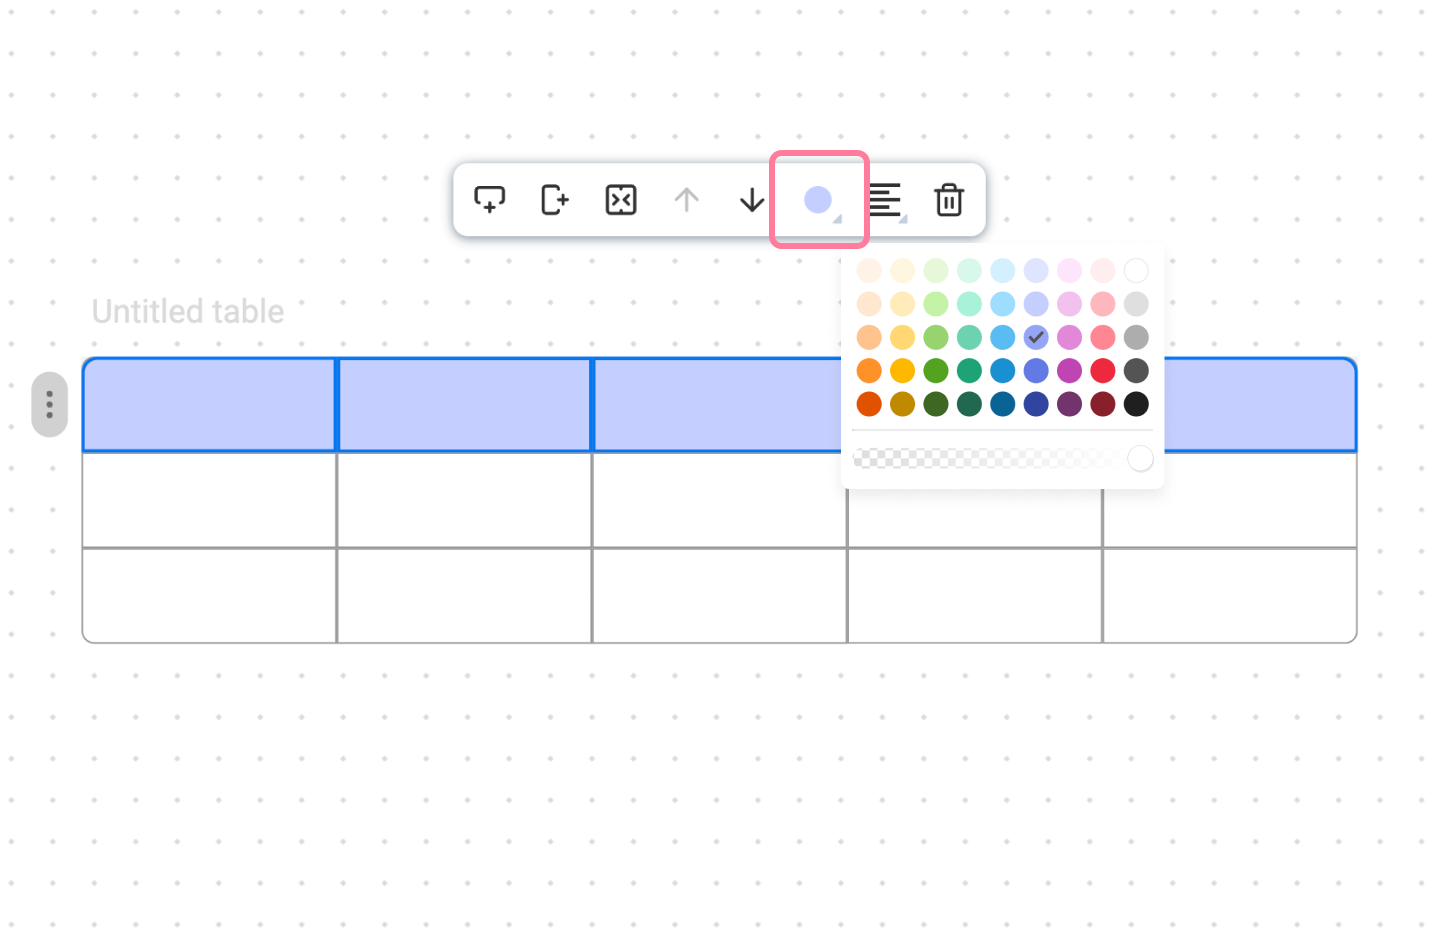
- With cells, rows or columns selected, you can change the color from the floating tool bar.
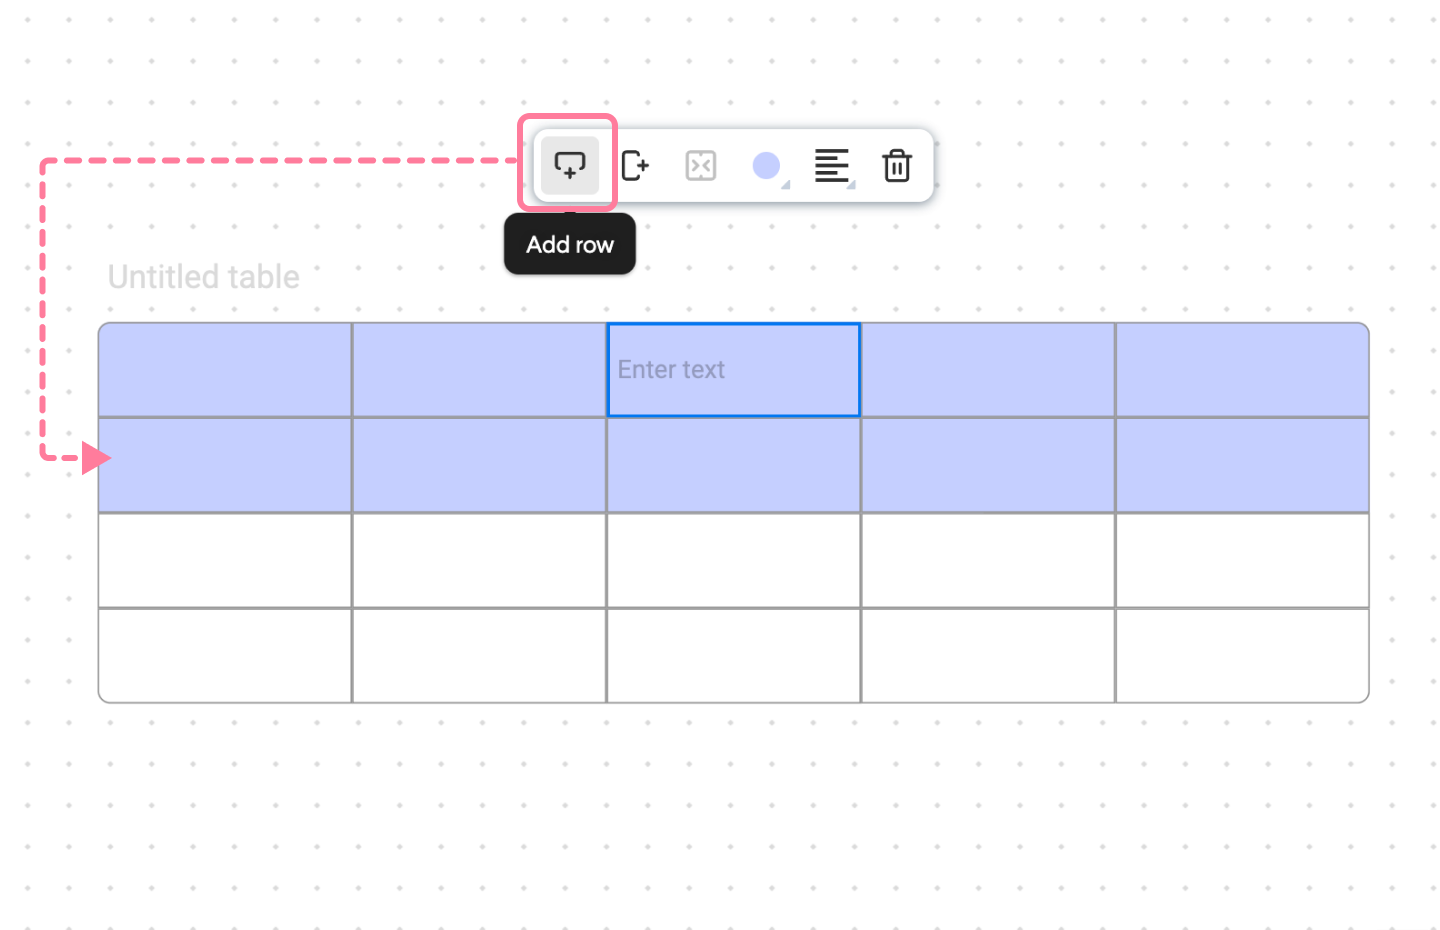
- You can add additional rows and columns with the Add row and Add column buttons in the toolbar and right-click menu.
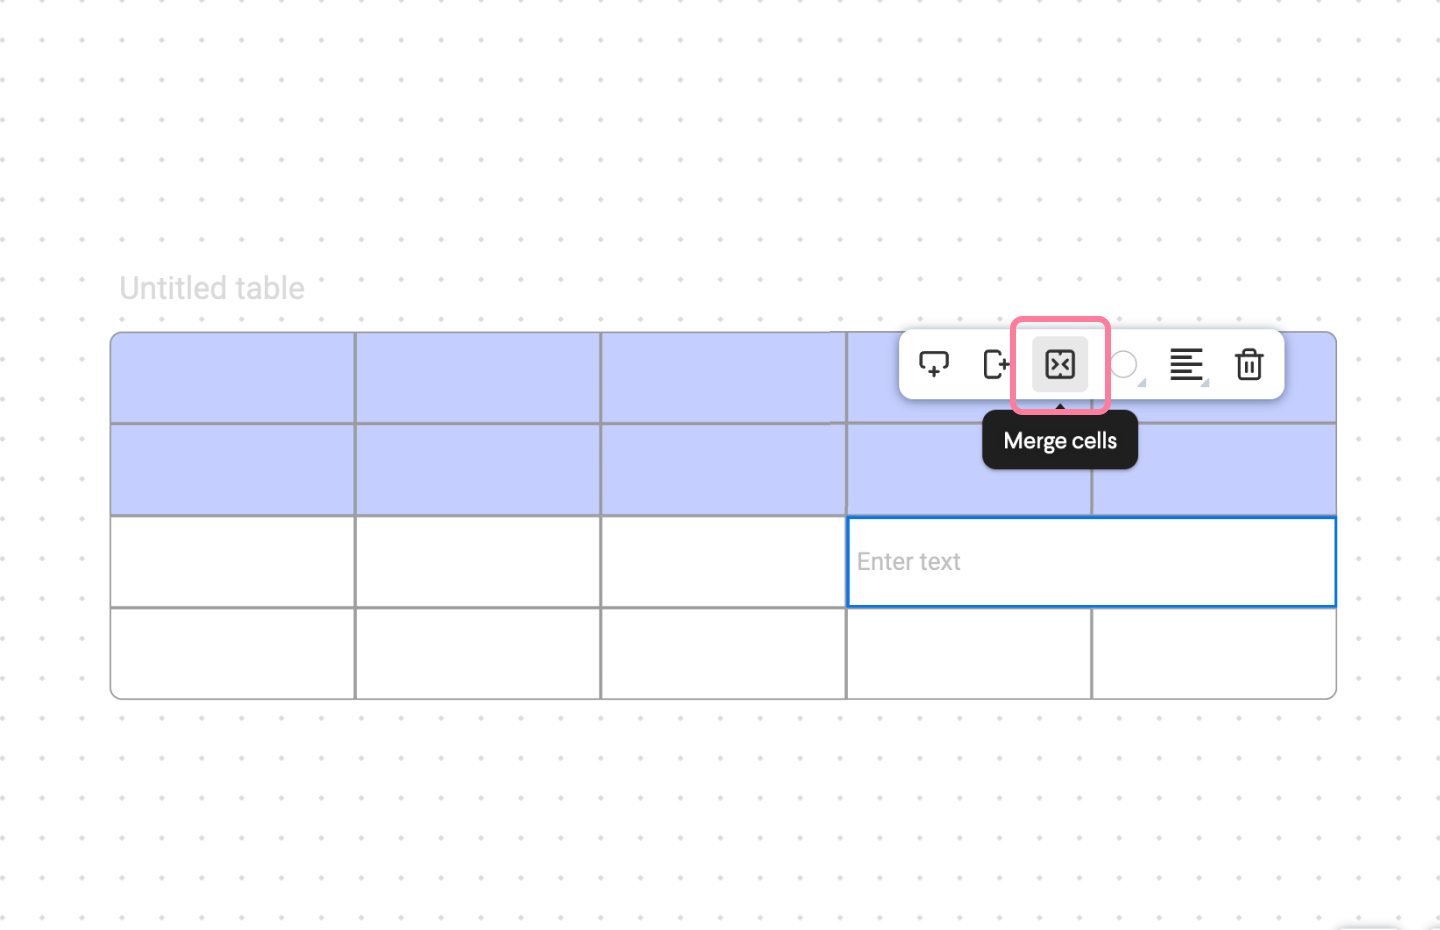
- You can merge 2 selected cells, when the cells are adjacent, with the Merge cells button.
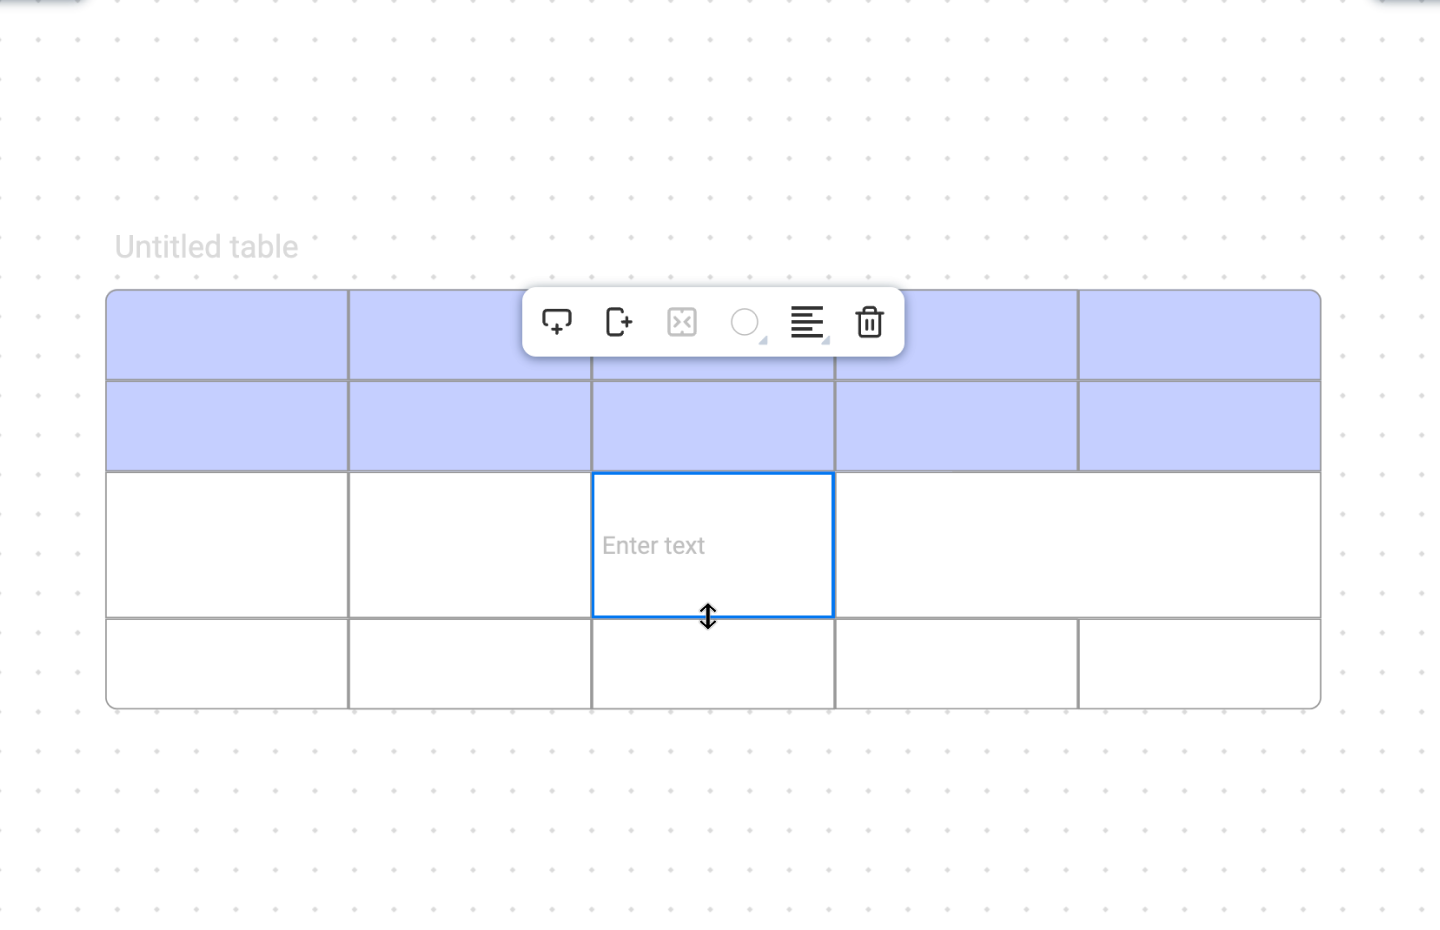
- You can adjust your rows and columns height and width by clicking and dragging one edge of a cells border.
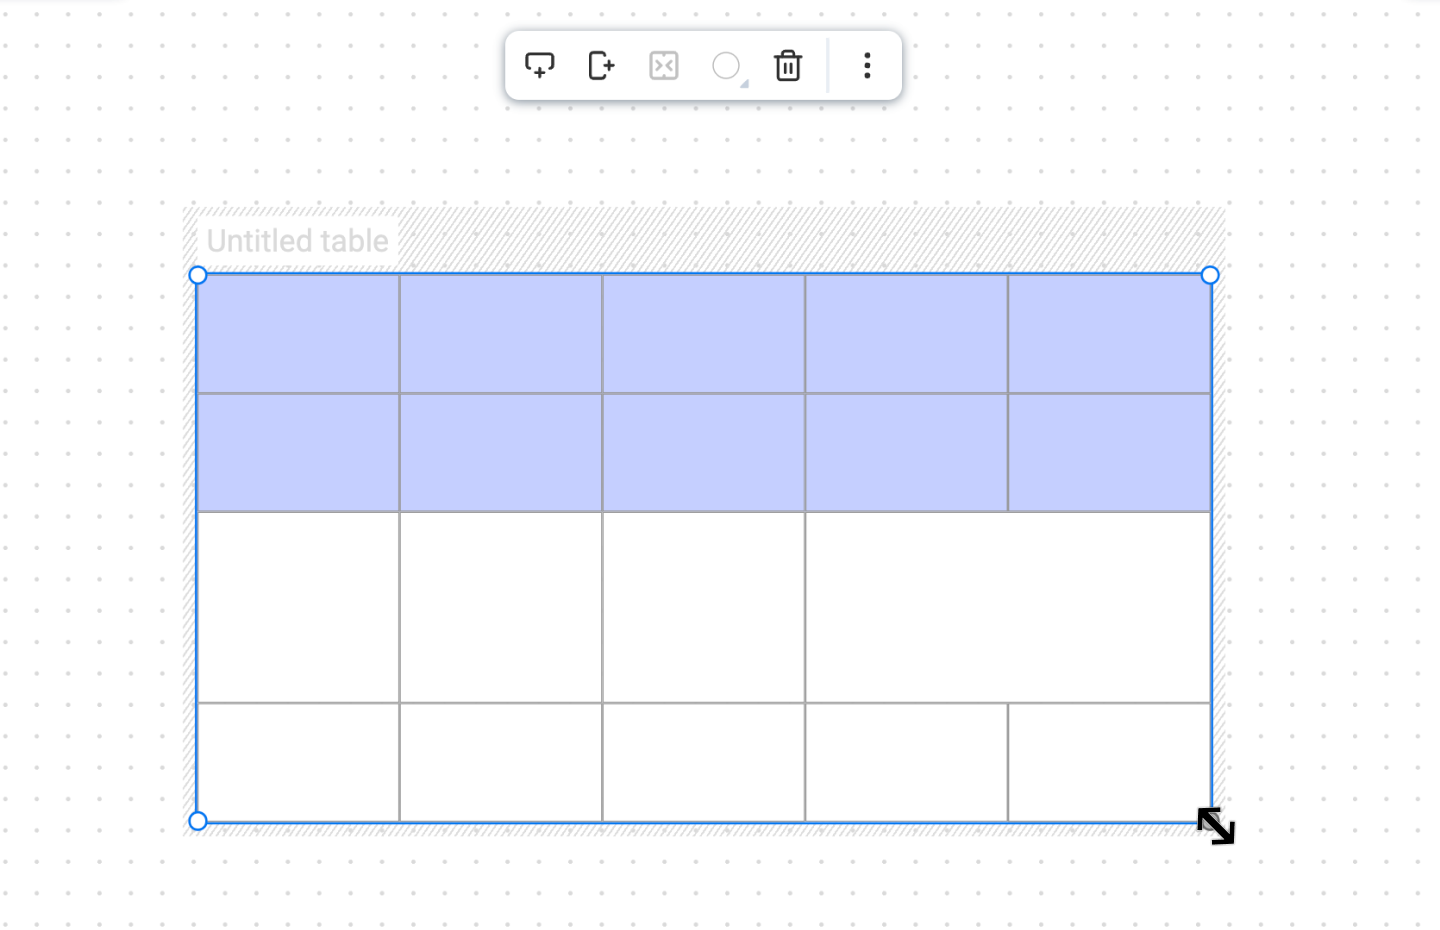
- You can enlarge the entire table by clicking on the top grips, and using the outer-most selection edge to adjust by clicking and dragging.
- To move an entire row or column, click on the 3-dot grips at the top of the row or column, click and drag to re-arrange your table.
Text in Tables
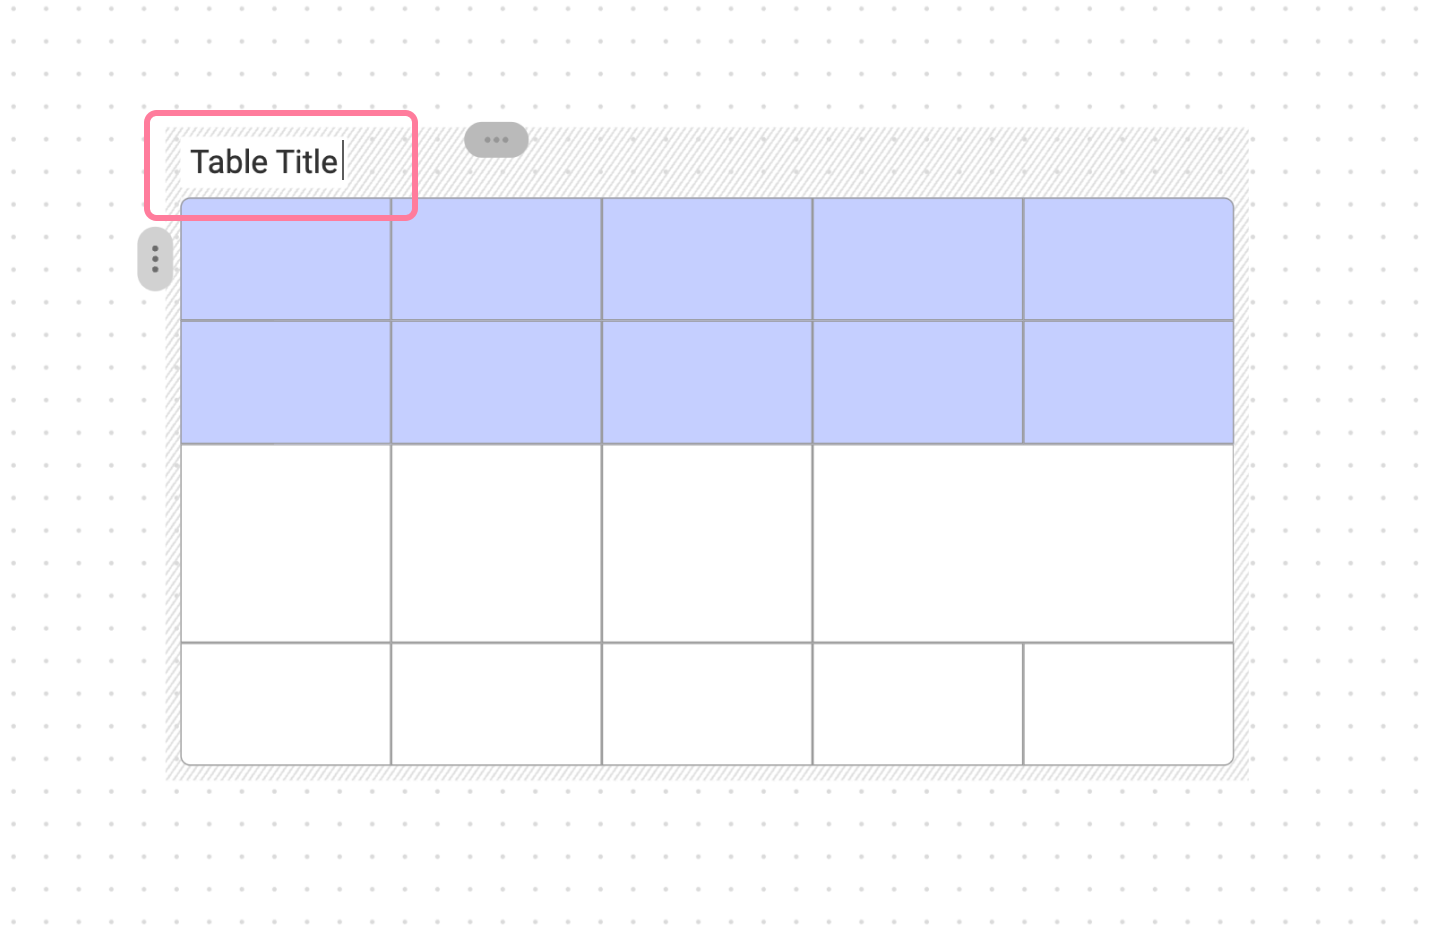
- Click on the table title in the top left corner to edit the title.
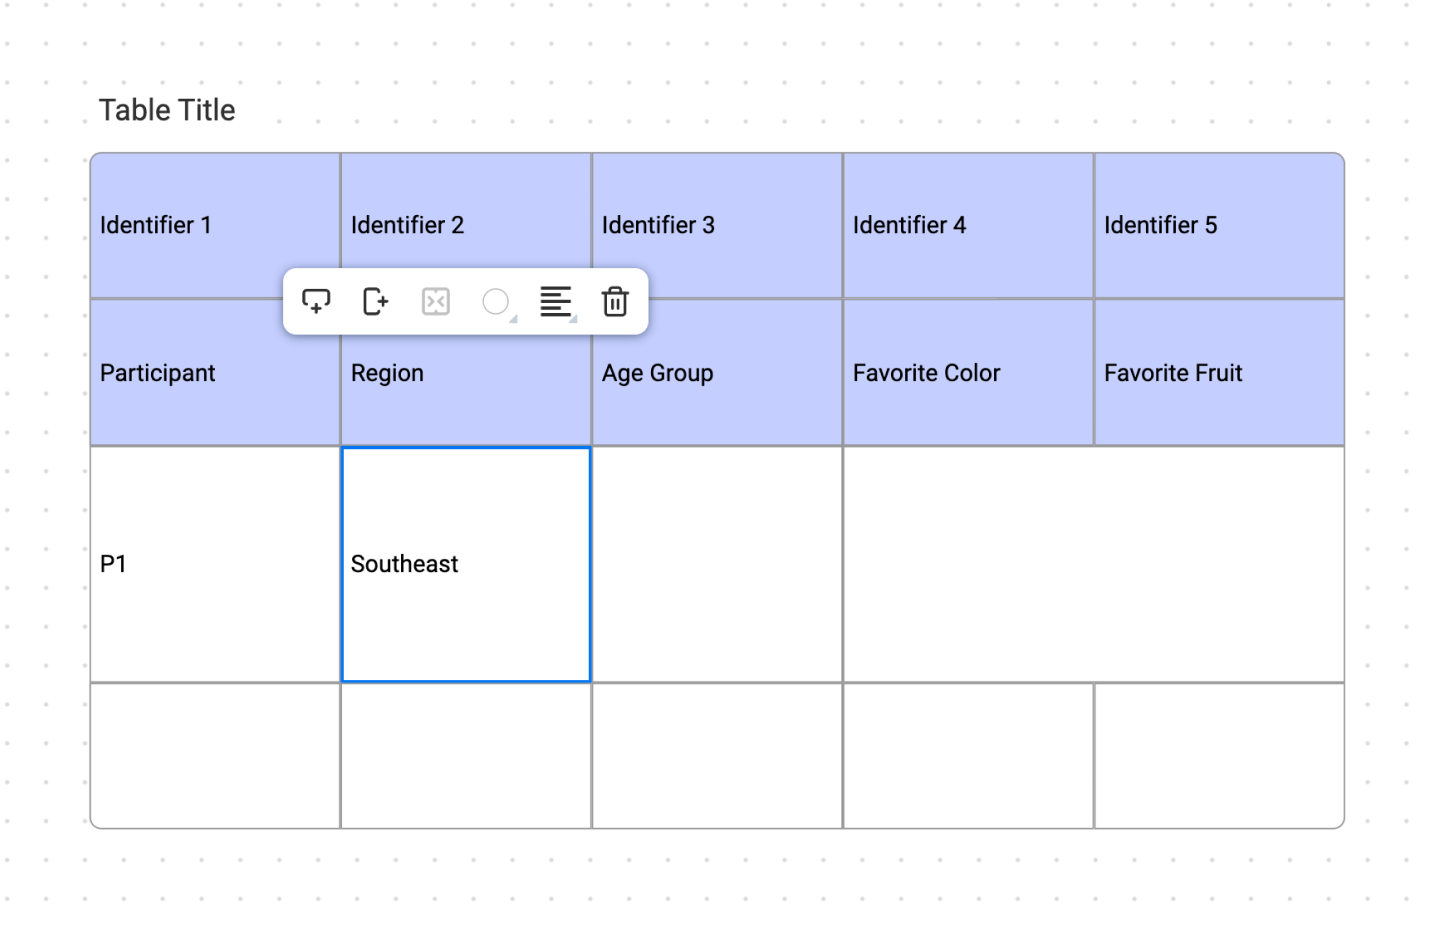
- To type in a cell, simply double-click and start typing.
- To move to the next cell, tap the Tab key to keep moving along.
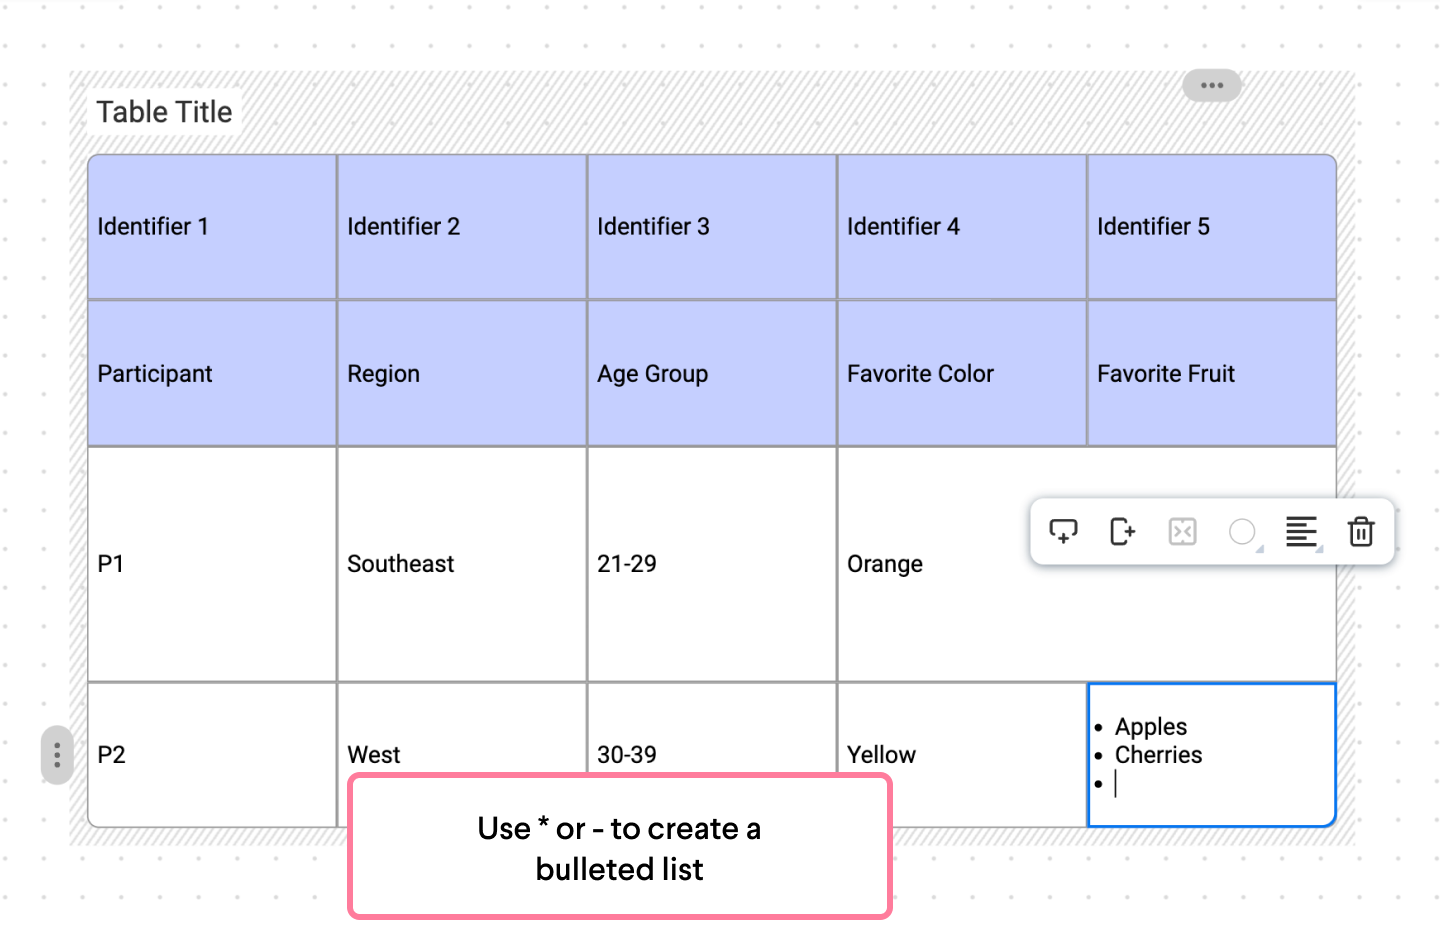
- To add a bulleted list, use the * (asterisk) character and the space key to create a bullet point, using the - (dash) and space also works.
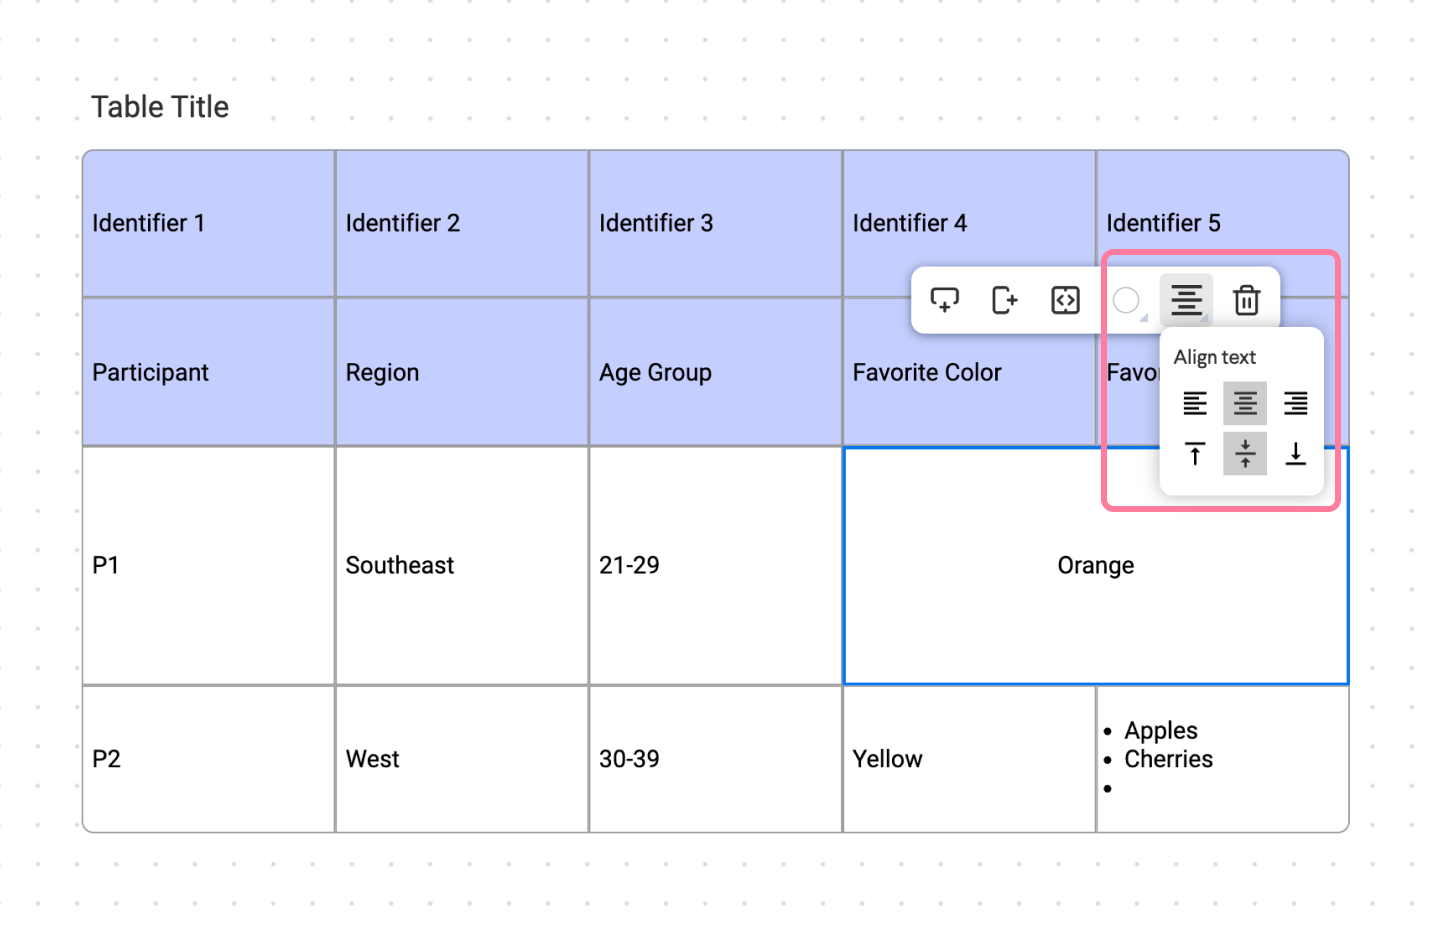
- To edit the text alignment, select the cells you’d like to edit and adjust from the floating tool bar.
Need help?
We’re here to assist you with your Frameable questions!
Email us at: support@frameable.com
Call Us: 646-710-1703
